Assembly
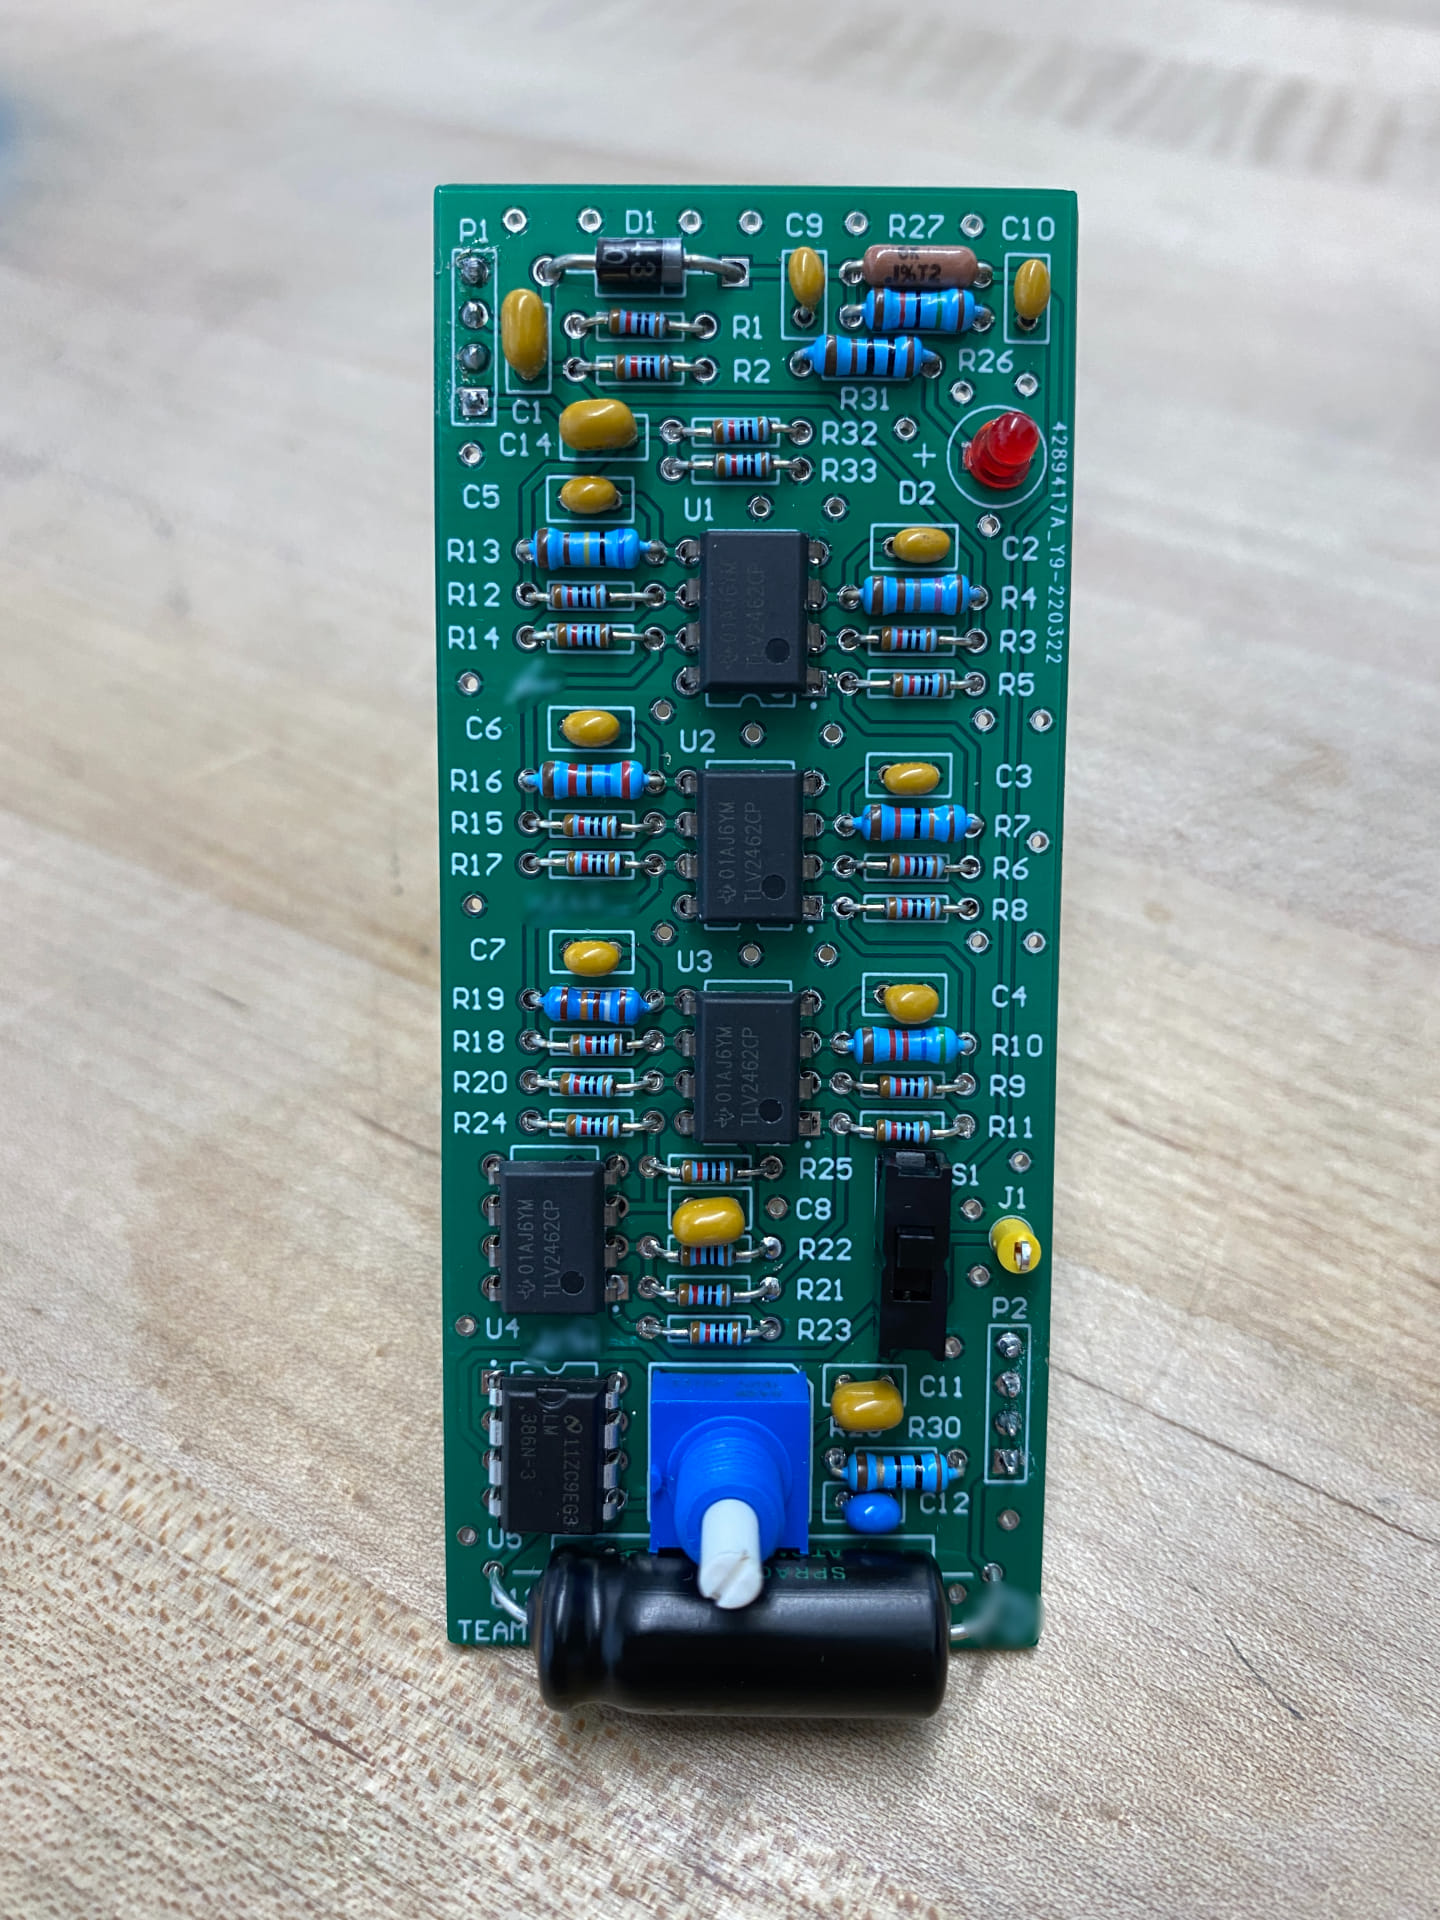
This was definitely the most exciting part of the project. As soon as the boards came in, I began soldering. I finished the same day, which meant we were immediately ready to test right after.
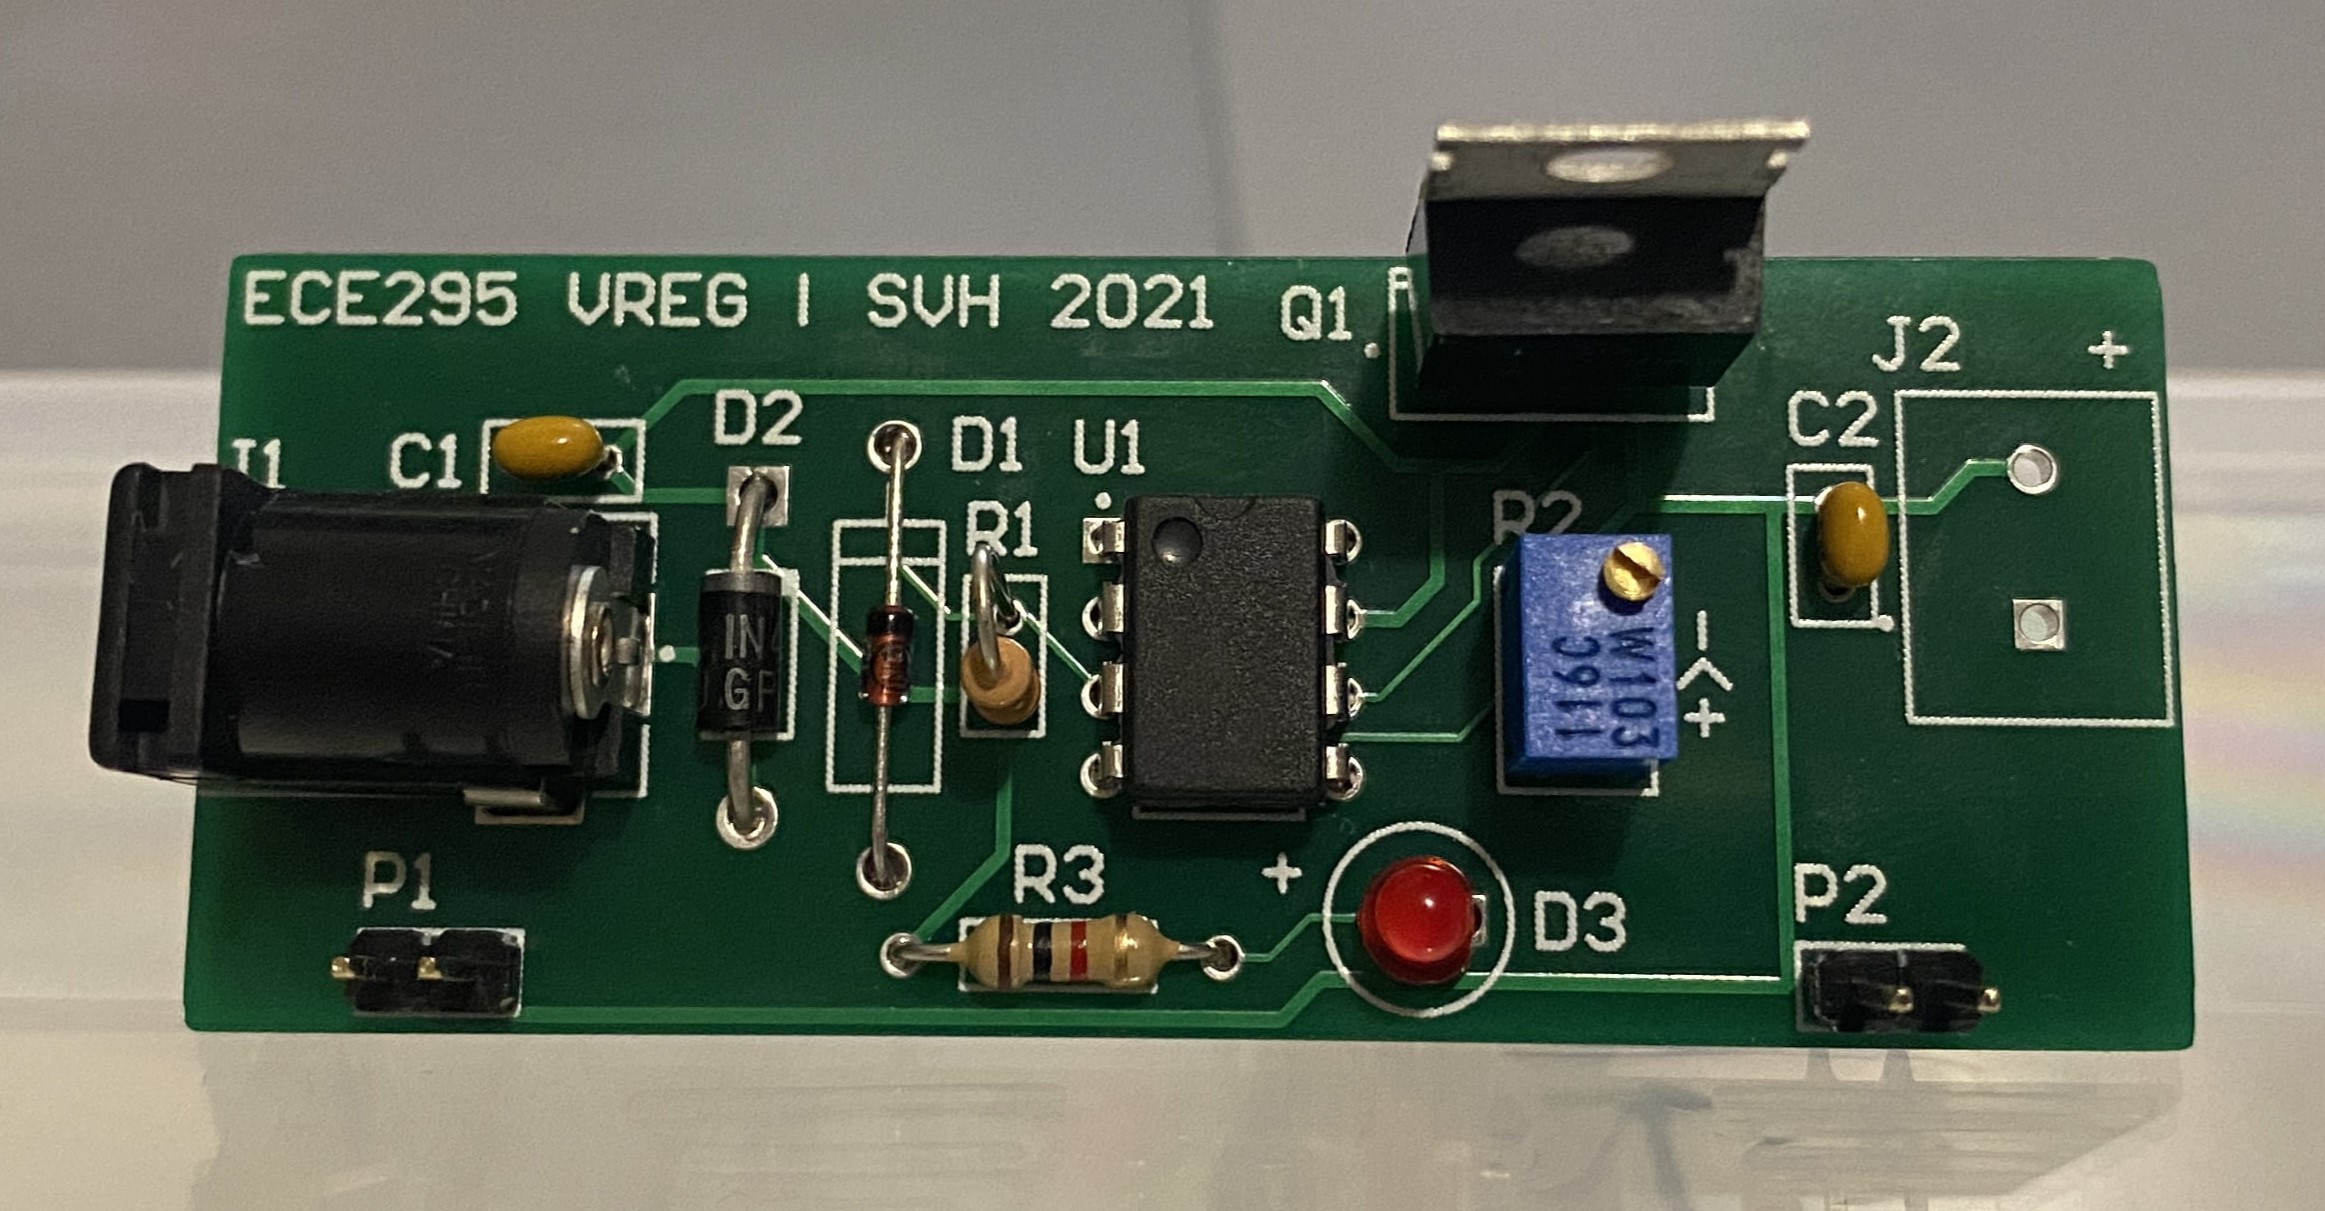
Soldering Practice
At the start of the course, we were given a mini project to practice or learn to solder if we hadn't done so before. This wasn't the case for me, but the final product was a 5V Voltage Regulator that we could use to power our board for testing at home.
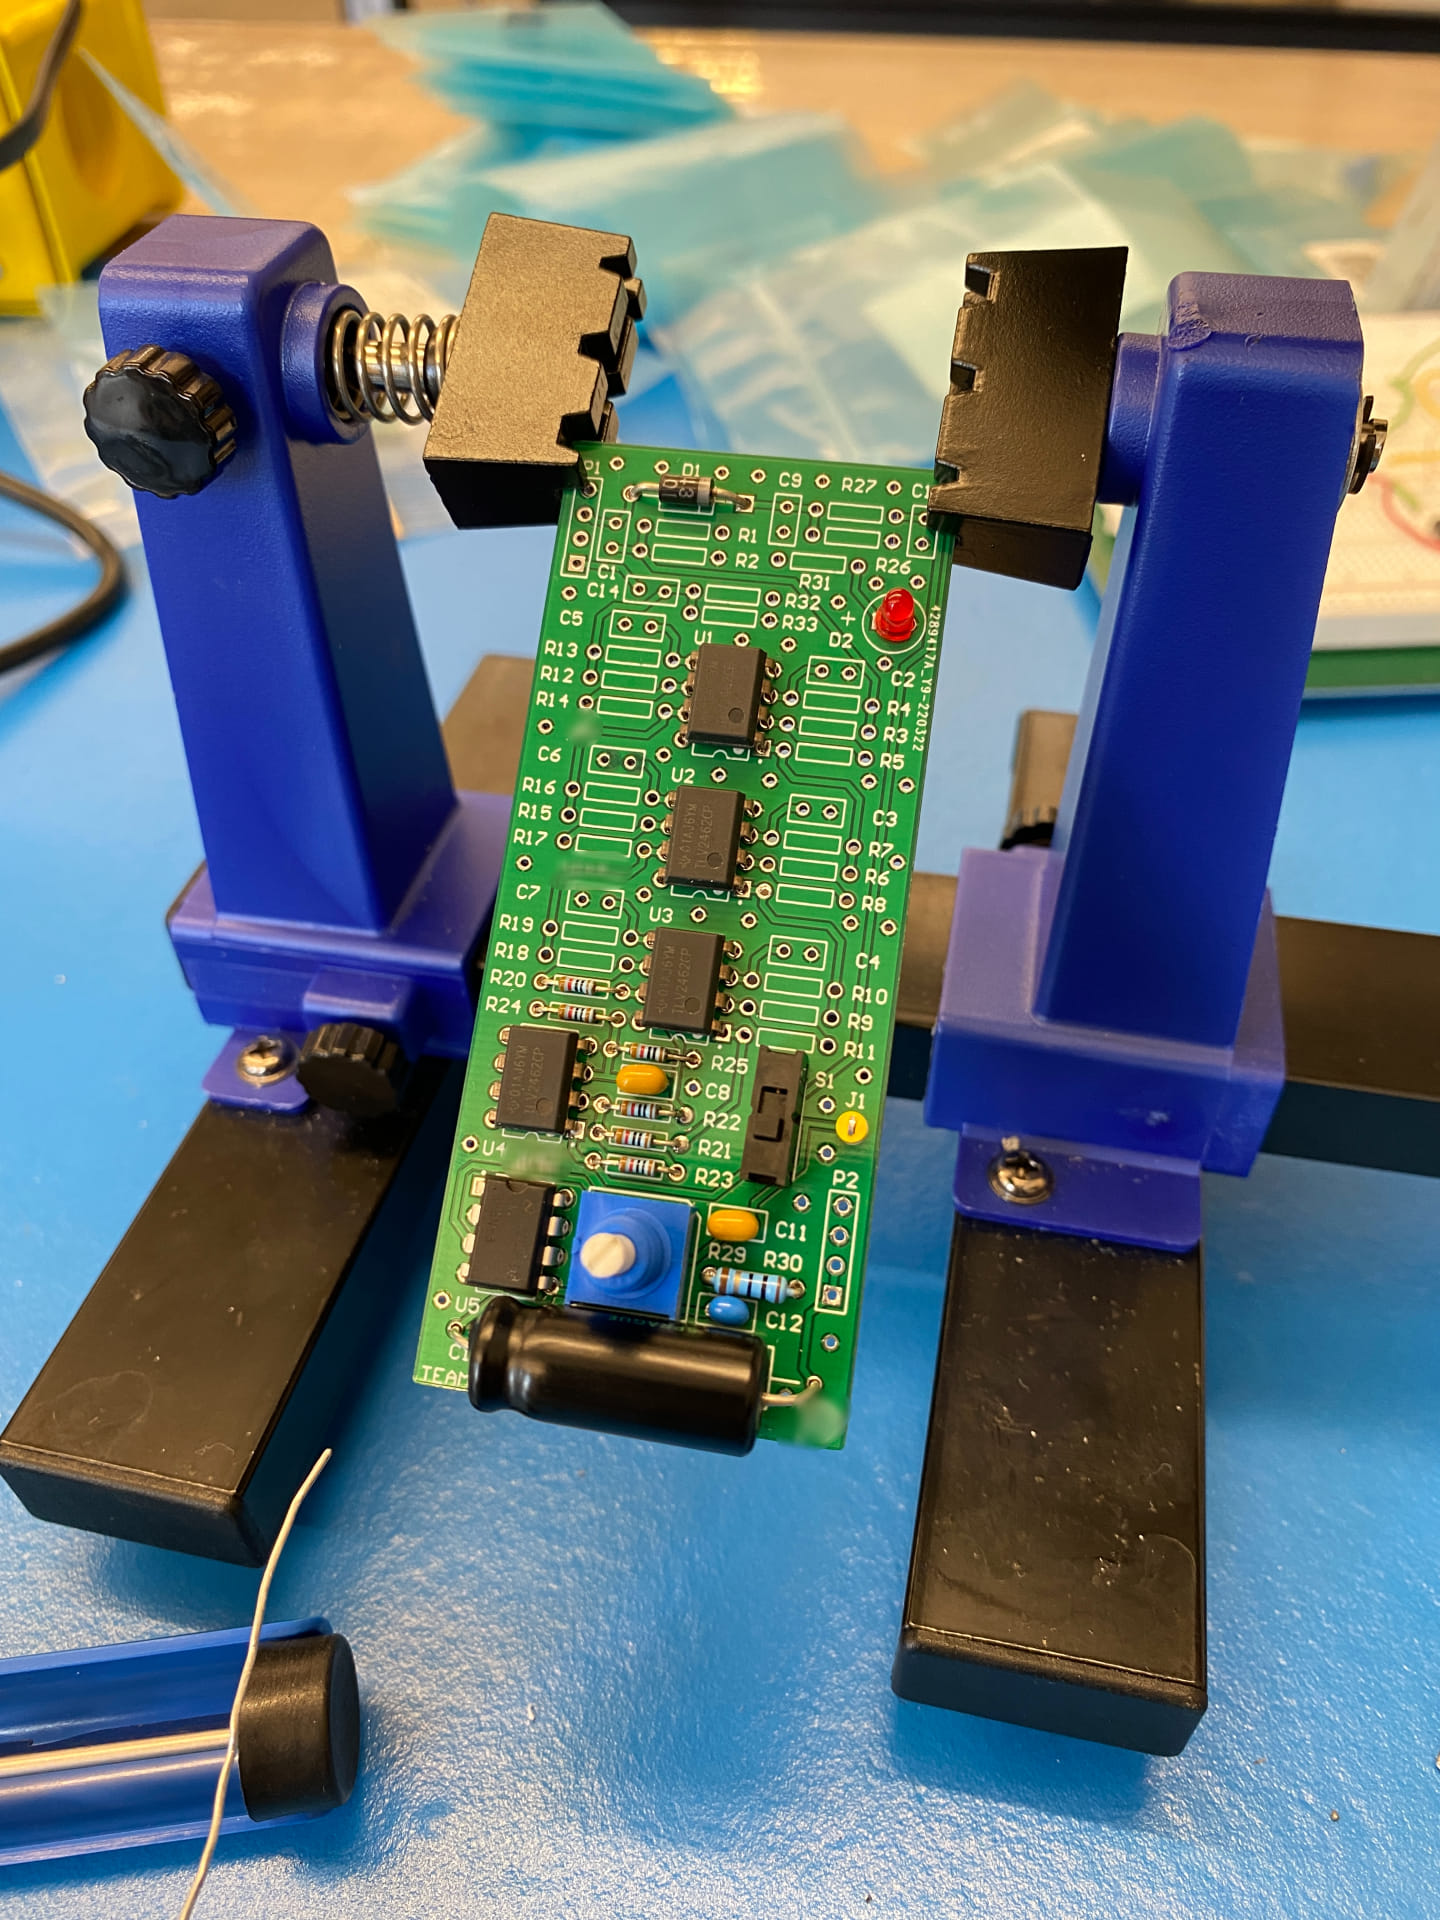
Assembling our Design
I may or may not have skipped most of my classes the day I soldered this board.
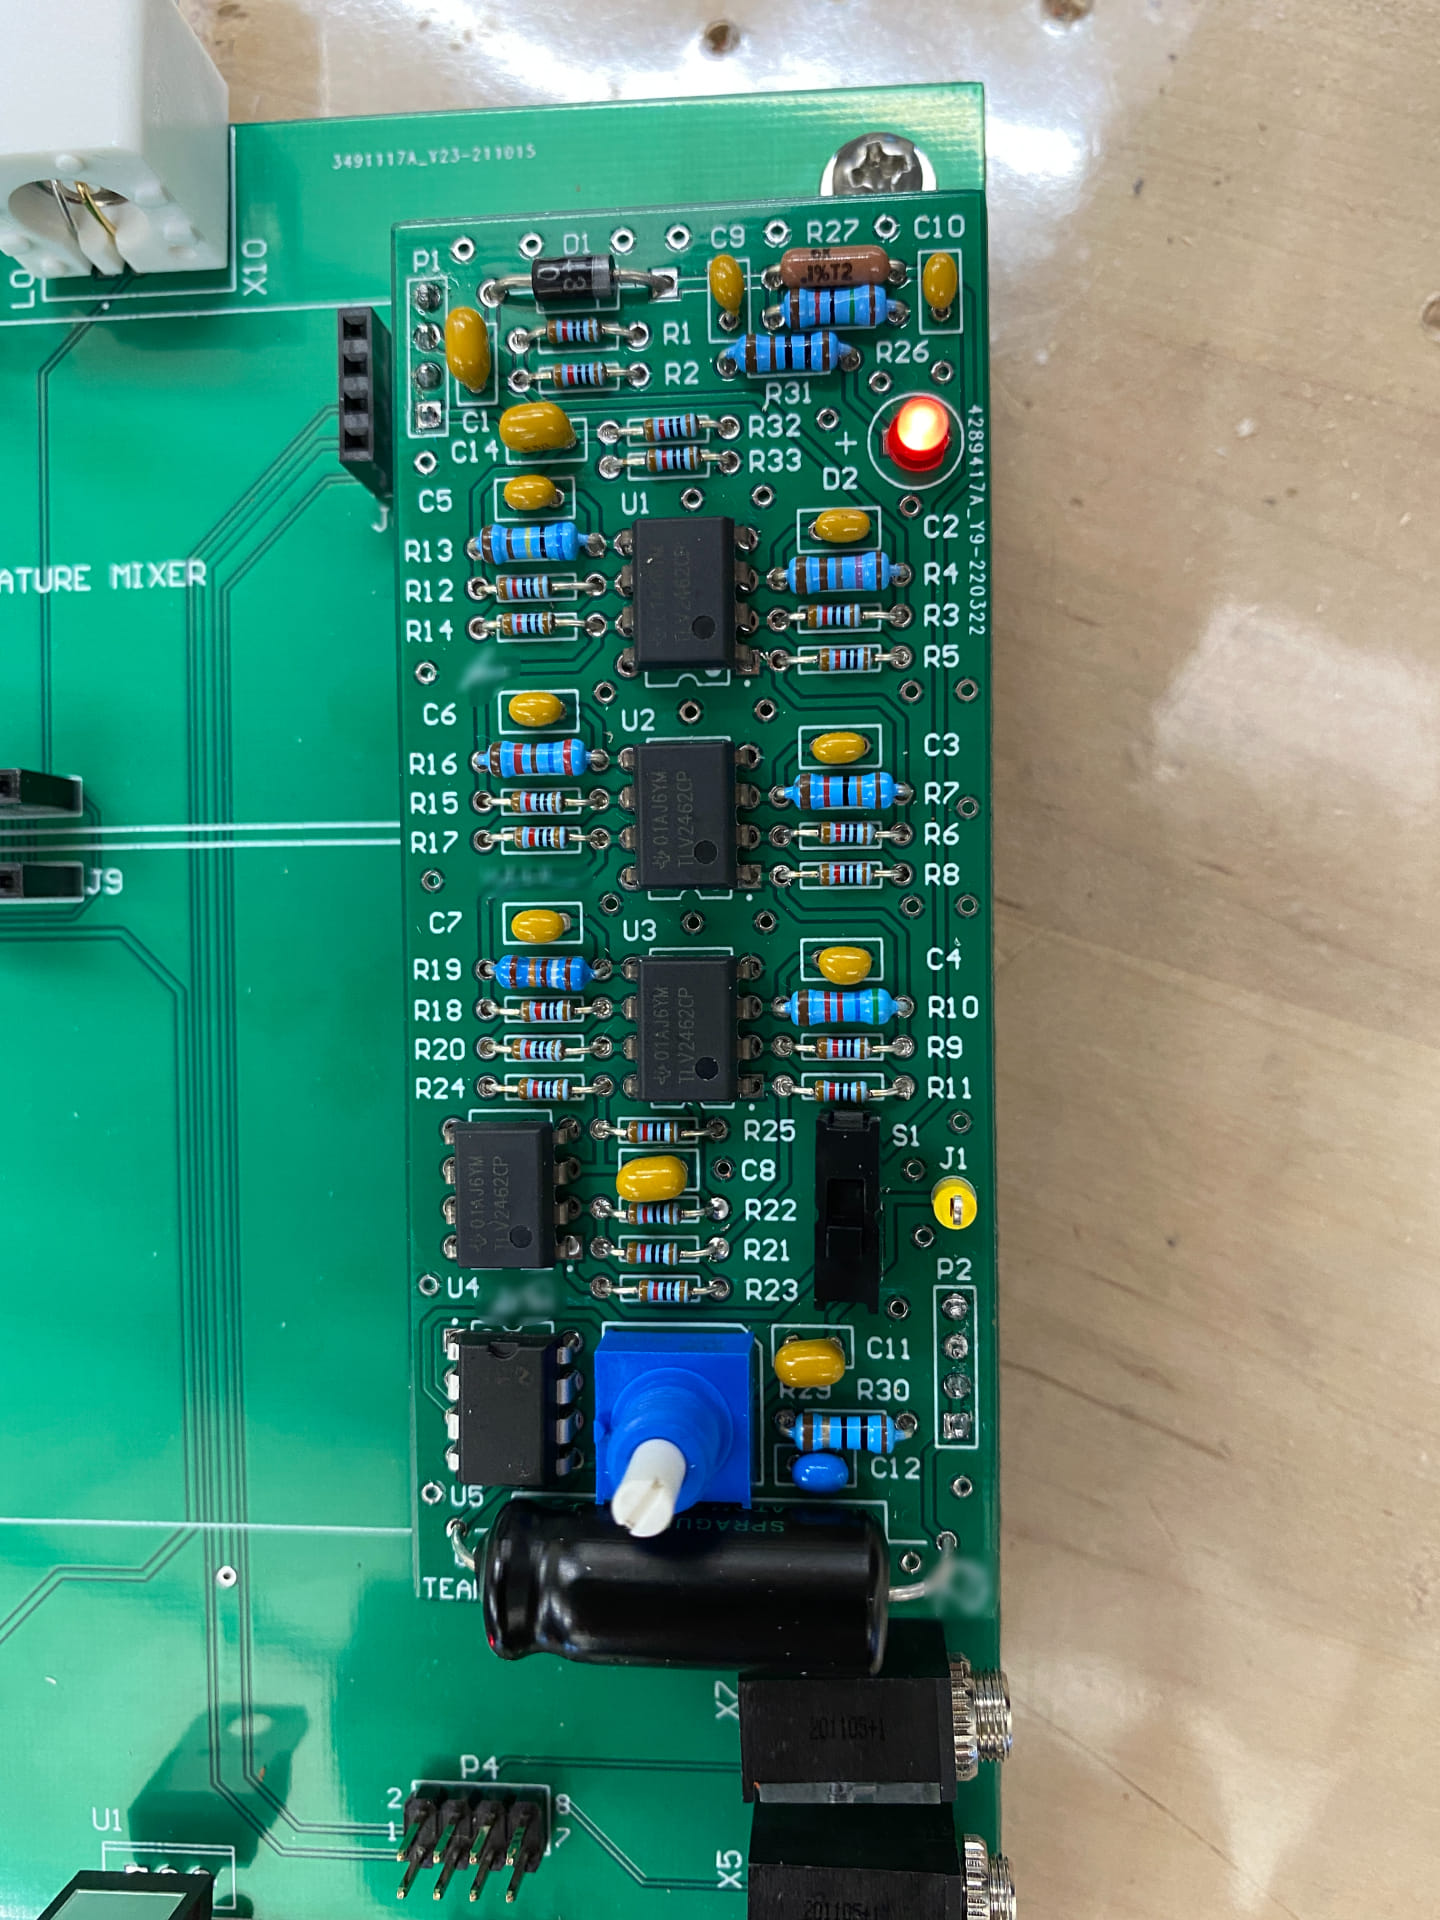
Almost Done
With our assembly done the same day the PCBs arrived, we had over a month before the end of the project to test our design and create a presentation to showcase our results. This also gave us a lot more flexibility in terms of our timeline moving forward, especially because the labs were getting overcrowded during the day with other ECE295 teams soldering their boards and second-year Engineering Science students working on their Praxis 3 projects.